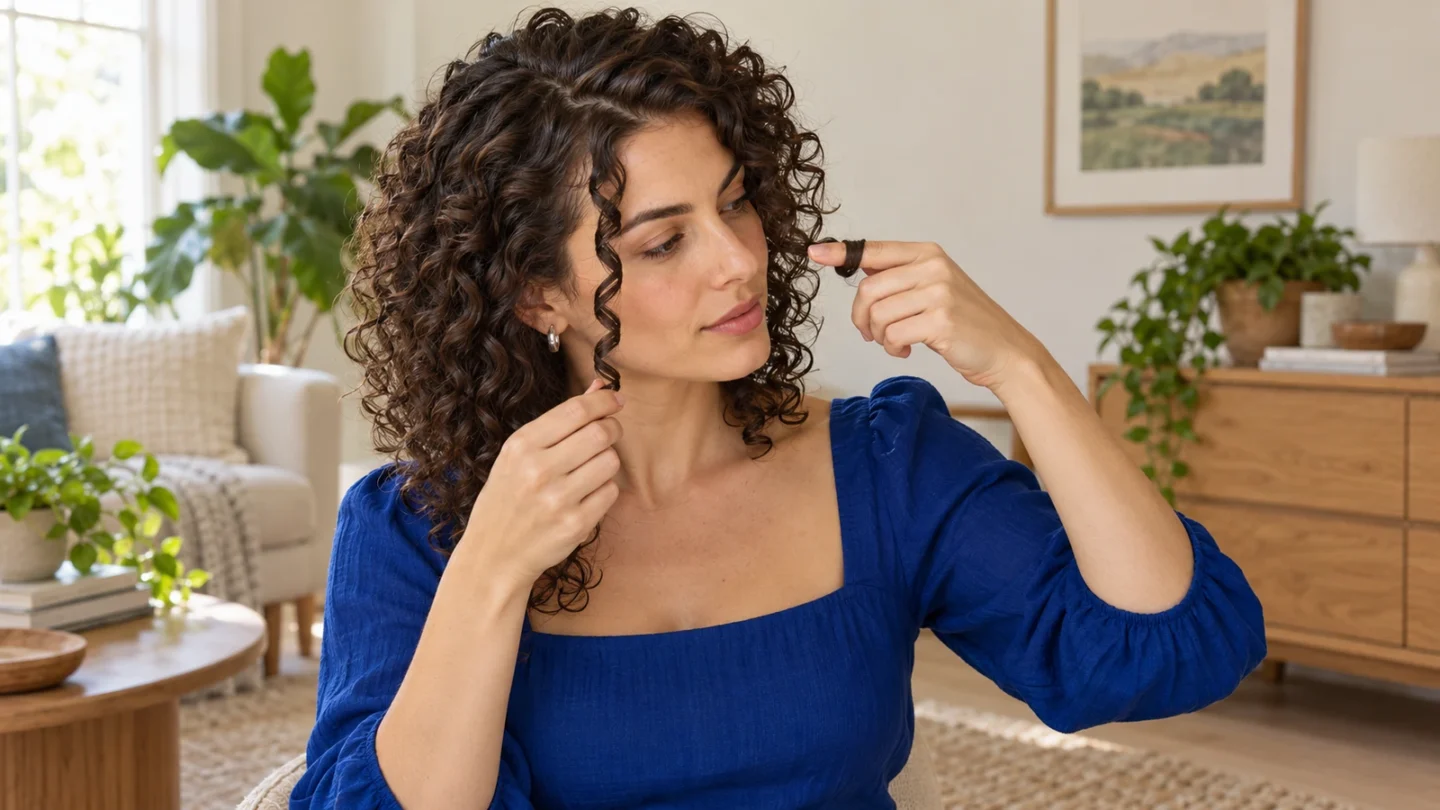
If finger coiling gives you beautiful ringlets but takes most of the afternoon, the problem may be the size of the job. You do not have to coil your whole head for the technique to be useful. For many people, the best return comes from fixing five to ten visible curls and leaving the sections that already clump well alone.
Full-head coiling makes sense when you want a deliberately uniform set and are willing to trade time and some fullness for definition. Selective coiling is better when the front, crown or a few stretched pieces need help. If your natural clumps already dry well, scrunching or brush styling will usually be faster.
Is finger coiling worth it for your curls?
| Your real goal | Best approach | Likely tradeoff |
|---|---|---|
| Fix a few straight or frizzy pieces | Coil only those curls | Slight variation between corrected and natural clumps |
| Make the front and top look polished | Coil the visible layer | The underside stays more natural |
| Create a very uniform ringlet set | Coil the whole head in consistent sections | More time, shrinkage and possible scalp visibility |
| Keep maximum fullness and movement | Use natural clumps or simple brush distribution | Less control over every ringlet |
| Finish wash day quickly | Scrunch, then spot-coil only obvious problem pieces | A less identical finish |
Density matters as much as curl type. A full head of long, dense curls creates many more sections than a short, lower-density cut. Fine or low-density hair can also look sparse when divided into dozens of tiny, separated coils. The technique is not failing; the section size is fighting the finish you want.
What finger coiling can and cannot change
Finger coiling smooths a damp clump around your finger and holds it in a spiral while it dries. It can make uneven pieces look more consistent for that wash cycle. It does not permanently retrain a follicle or repair a section that has lost its pattern through severe heat or chemical damage.
That distinction prevents a common trap: recoiling a weak section again and again because it will not match the rest. If one area repeatedly falls straight, compare its history, length, damage and product weight. Our article on building a simple curly-hair routine can help you establish a reliable baseline before adding a detailed styling step.
A finger coil should also feel comfortable at the root. Dermatologists advise minimizing pulling and tugging during styling, particularly when hair is already fragile. The American Academy of Dermatology’s styling guidance is a useful reminder that pain and persistent tension are not signs of better definition.
How to finger coil curly hair without making tiny strings
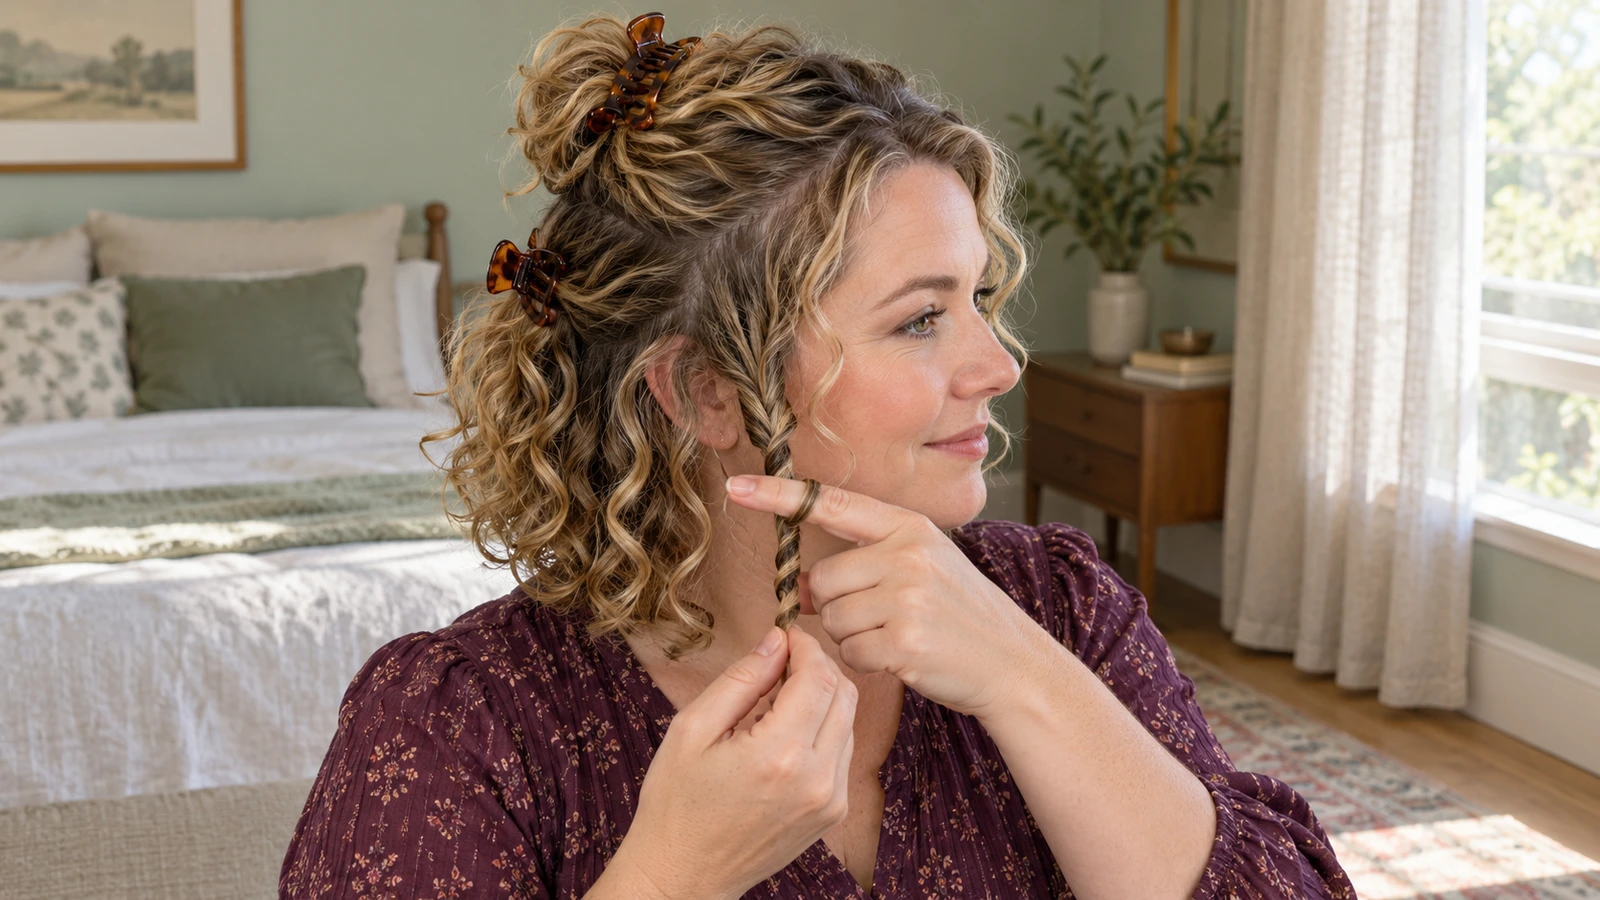
- Start with detangled, evenly wet hair. It should be slippery enough for one natural clump to separate without pulling. Rewet a working section if it becomes tacky or catches on your fingers.
- Apply your normal styler before coiling. Use enough slip to smooth the clump and enough hold to keep the shape after it dries. Finger coiling cannot compensate for a product combination that never sets.
- Choose a curl-sized clump, not a few individual hairs. Begin with the group your hair forms naturally. Splitting every clump into pencil-thin pieces often creates a stringy, low-volume result.
- Follow the direction the curl accepts easily. Turn the clump gently in one direction. If it immediately unwraps or kinks, try the other direction rather than tightening harder.
- Wrap, smooth and release. Wind the clump around one finger without pulling the root flat against the scalp. Slide your finger out and let the spiral spring back on its own.
- Dry before separating. Air-dry or diffuse without repeatedly touching the coils. If you diffuse, follow a set-first diffusing method so the airflow does not undo the shape before it holds.
A stylist education tutorial from SalonCentric likewise emphasizes saturated, detangled hair and notes that leaving some natural texture at the base can preserve more root volume.
Choose section size by the finish, not a tutorial
Small sections create more numerous, uniform coils but take longer and expose more scalp. Larger sections preserve visual fullness and reduce setup time, although very large clumps may split or dry unevenly. Start with the clumps your hair already creates, then divide only the pieces that look bulky or refuse to hold together.
- Fine or lower-density curls: use larger clumps and coil only the visible problem areas. Too many separate ringlets can make the spaces between them look wider.
- Dense hair: work in reachable zones and decide whether the hidden underside actually needs manual shaping. It often does not.
- Short curls: coil the pieces long enough to wrap comfortably. Forcing very short roots around a finger can create tension without a useful spiral.
- Mixed patterns: give looser areas a slightly smaller section or stronger hold, but do not expect them to shrink exactly like tighter curls.
Why finger coils turn flat, stringy or unnatural
Flat roots usually come from starting the twist too tightly at the scalp. Support the clump near its base, but begin the visible winding slightly lower and release tension before moving on. Styling every section downward can also lock the crown into a flat position.
Stringy coils usually mean the sections are too small or do not contain enough neighboring hairs to form a substantial clump. Combine two or three thin coils on the next wash instead of adding more product. If your curls look good wet but separate while drying, use our guide to finding where curl clumps break apart.
An artificial finish often comes from making every coil identical. Real curls vary. Mix slightly different clump sizes, keep some natural groups and separate only a few coils after they are completely dry.
Coils that fall apart may need hold, not more winding. Test your existing gel or mousse before changing the technique. If a brush distributes product faster and gives you enough definition, our curly-hair brush comparison explains how the main brush shapes differ without turning this into another tool-buying exercise.
Try the visible-layer test before a full-head routine
On your next wash, style normally and finger coil only the pieces around your face, part and crown that visibly break the pattern. Count the curls you changed. After drying, compare definition, root lift, fullness and the extra minutes spent.
If those selected coils clearly improve the finished shape, keep the shortcut. If they look too separate, increase the section size or leave more natural clumps untouched. Only move to full-head coiling when you genuinely prefer a uniform set enough to justify the time.
Stop if a section snags, the root hurts or fragile ends keep snapping as you wind them. Finger coiling should organize a curl, not force it. The useful version is the smallest amount of manual shaping that solves the visible problem.