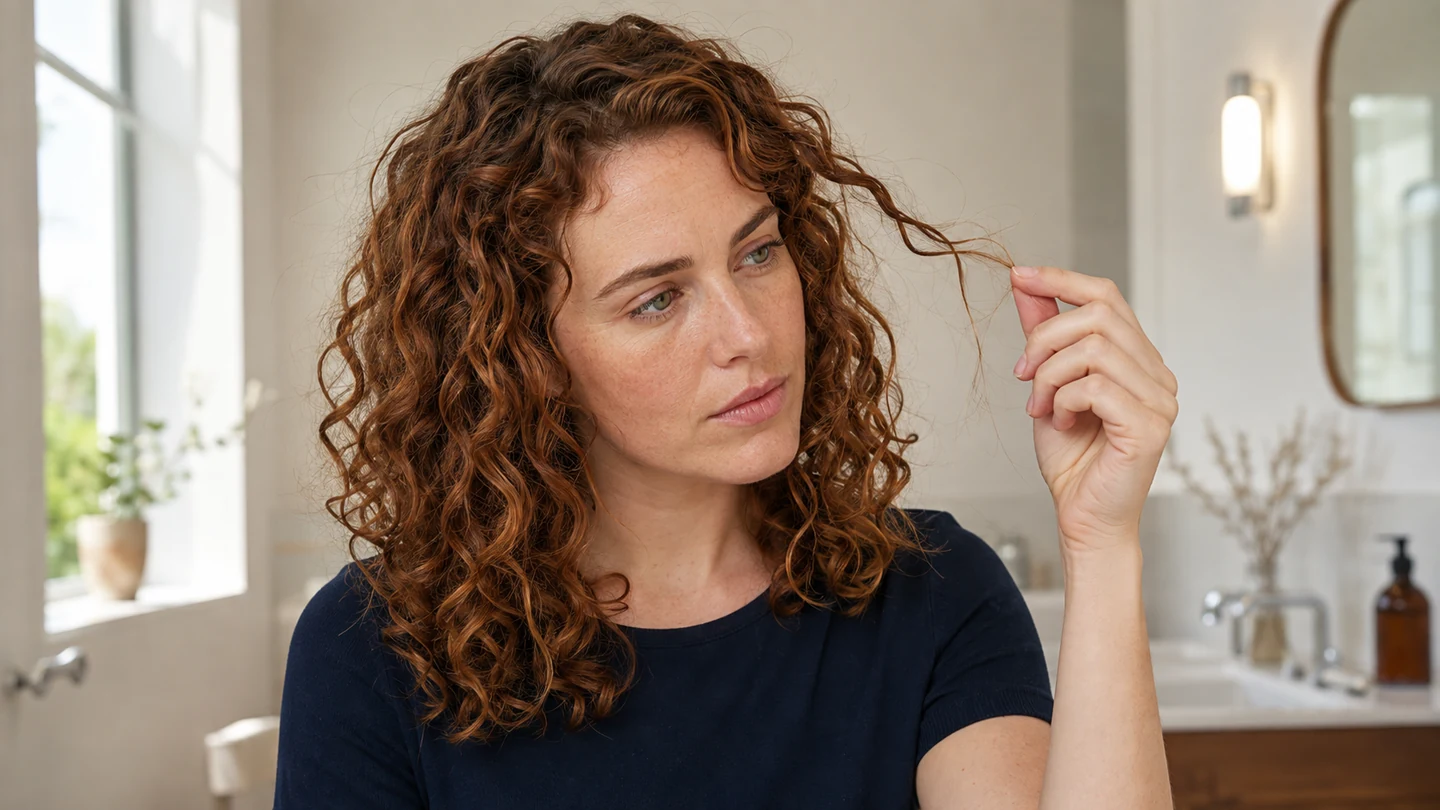
Your curls look promising while they’re wet. Then they dry into thin, separated pieces, and the definition you saw in the shower disappears.
If your curls clump when wet but turn stringy as they dry, check when the clumps first split. Separation immediately after brushing needs a different adjustment from curls that hold together until you scrunch out the gel. Start there before buying another product.
Stringy curls alone don’t prove damage, a protein problem or the wrong porosity routine. The useful clue is what changed between a curl group you liked and the finished result.
Find the first moment your clumps fall apart
On your next wash day, photograph the same front section after rinsing, applying products, styling, towel drying and fully drying. Take one last photo after softening any cast. Use similar lighting; don’t pull the section apart to inspect it.
| First change you notice | Start with this test |
|---|---|
| Wet clumps split as you apply styler | Keep the same amount; change your application to gentle palm smoothing. |
| The brush leaves narrow ribbons that stay separate | Skip the styling brush on one already-detangled section. |
| Clumps look fuzzy after towel scrunching | Try fewer, gentler presses with a smooth T-shirt. |
| They separate while the dryer is running | Lower the airflow and begin without putting hair in the bowl. |
| They gradually unravel without being touched | Check your styler’s hold before adding more conditioning products. |
| Definition disappears when you soften the crunch | Wait until fully dry, then cup and squeeze without raking. |
Choose the earliest change. If the clumps were already split before you picked up the diffuser, replacing the dryer probably isn’t your first move.
They split while you’re applying products
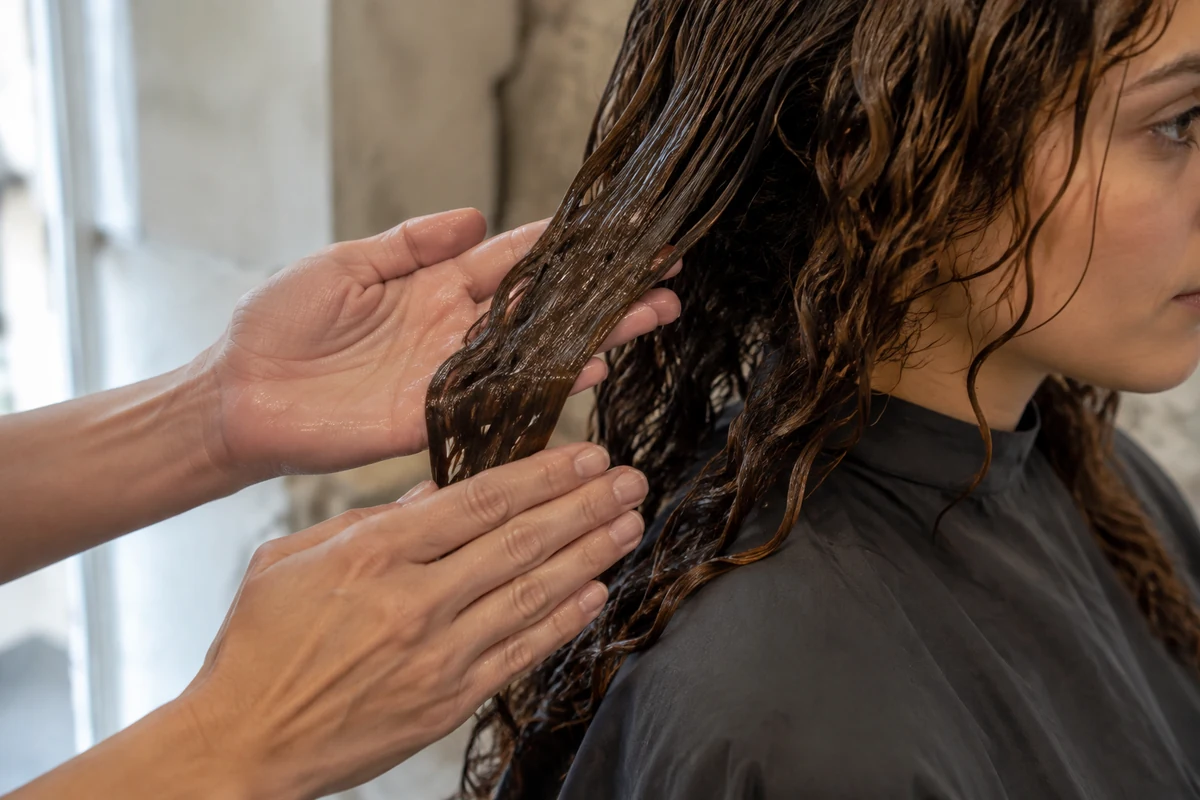
Watch your hands. Fingers moving repeatedly through a formed clump can divide it into smaller groups. Raking isn’t automatically wrong, but it may be the wrong finishing move for that section.
Keep your usual product and amount. Spread it across your palms, then lightly smooth over the wet curl groups instead of combing through them again. Cup the ends once and release. Check whether the clumps stay together.
If the section has already become barely damp, test water separately: re-wet one piece until it’s evenly wet and see whether it groups again. You don’t need to keep pouring water through the whole head. More water can also mean more dripping and a longer drying session.
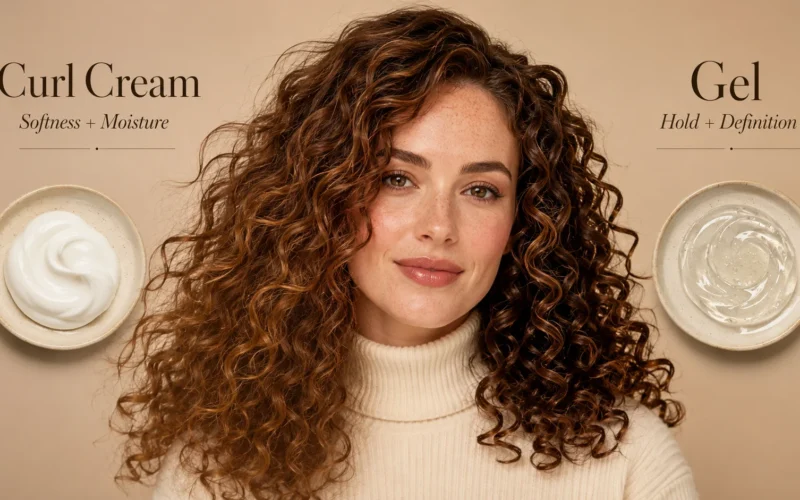
Greasy, limp pieces that appear after cream need a different experiment. At the next wash, reduce that layer while keeping your other steps steady. Our curl cream versus gel comparison explains why adding softness and adding hold aren’t the same job.
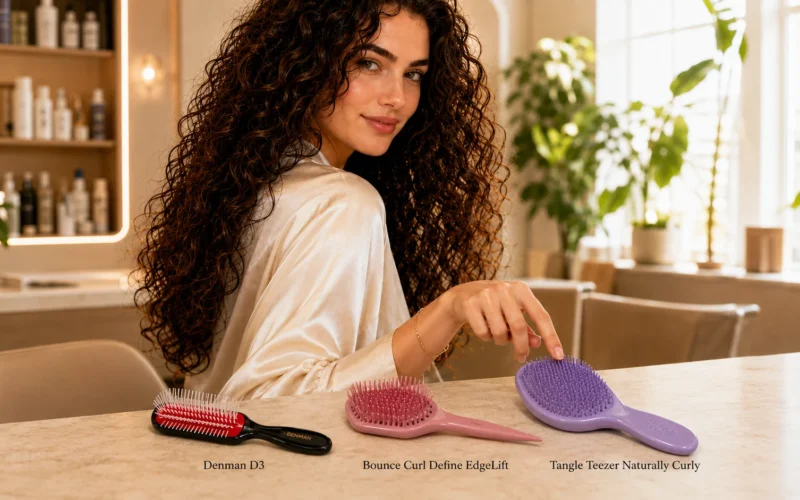
The brush makes neat little strings
A brush can organize curls, but it can also leave smaller groups than you wanted. Repeated passes won’t necessarily make them merge.
Detangle first, gently. The American Academy of Dermatology recommends working from the ends upward and notes that thick, curly hair can be combed before rinsing out conditioner. Don’t drag a styling brush through knots.
For one already-detangled section, skip the styling brush and use your normal styler with gentle smoothing. Compare it with a similar section styled as usual. If the unbrushed piece dries closer to the shape you wanted, fewer styling passes may be enough. You haven’t failed a brush tutorial.
Towel scrunching breaks up the shape
Microplopping means briefly cupping wet hair in a T-shirt or towel and pressing upward to absorb drips. If every squeeze makes the clumps thinner or fuzzier, stop repeating it.
Try a smooth cotton T-shirt, cup the ends and press gently without rubbing or twisting. Release slowly. Leave the section wetter if another press would pull it apart; the tradeoff is extra drying time.
Don’t automatically add a second coating of gel to repair towel friction. First find out whether gentler handling preserves what was already there.
They look good until the diffuser comes out
Watch the hair, not just the heat setting. If the airflow is blowing clumps sideways or whipping loose strands around, lower the speed. Start by hovering the diffuser near the section without scooping it into the bowl, keeping a comfortable distance.
Once the outside begins to set, you can gently support the ends in the bowl if that helps your shape. Switch the dryer off before repositioning so it isn’t blowing through moving curls.
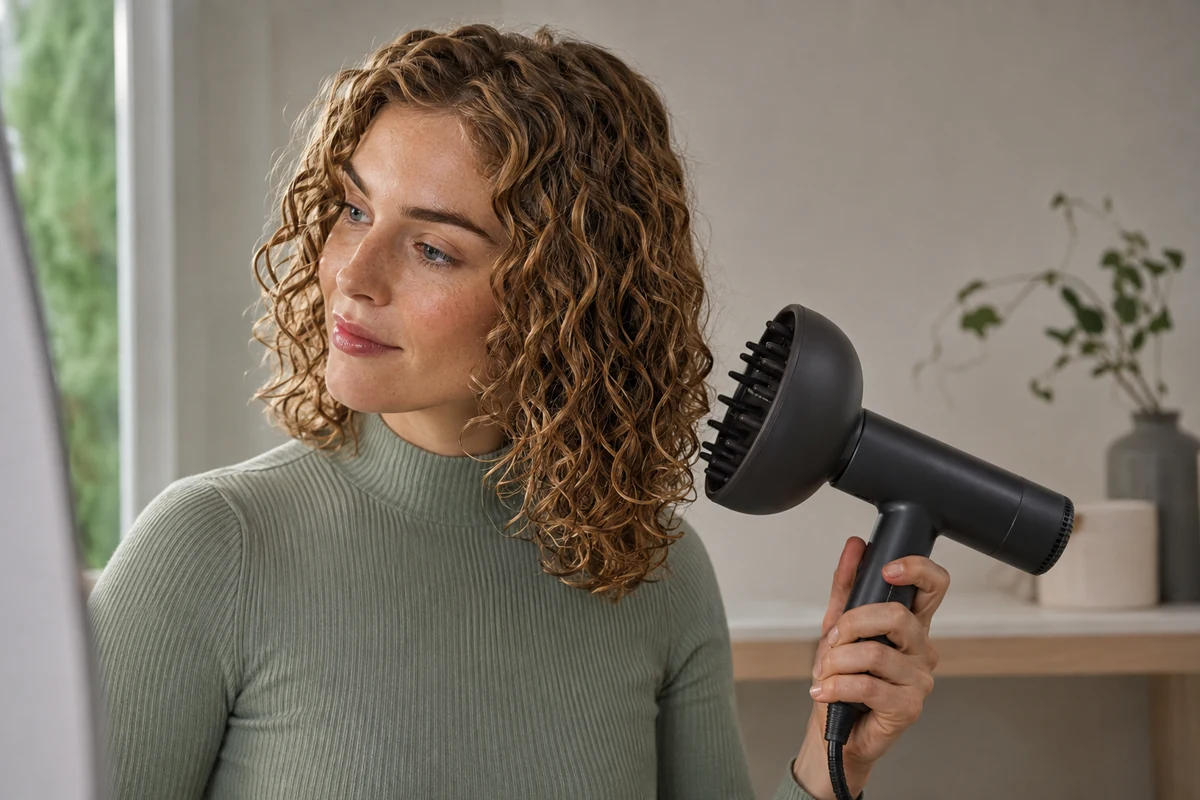
Use the lowest effective heat and follow your dryer’s directions. Dermatologists advise limiting heat and avoiding pulling or tugging during styling. A diffuser isn’t permission to keep hot air on an uncomfortable scalp.
Air drying is also an option. If that’s your preference, keep checking touches, head flips and friction against clothing to a minimum while the shape sets.
Untouched curls unravel, or the crunch hides the answer
If clumps survive styling but gradually lose shape without handling, consider hold. Cream alone may leave hair soft without keeping those wet groups intact. Check whether your current styler promises light, medium or strong hold; the product category alone doesn’t tell you.
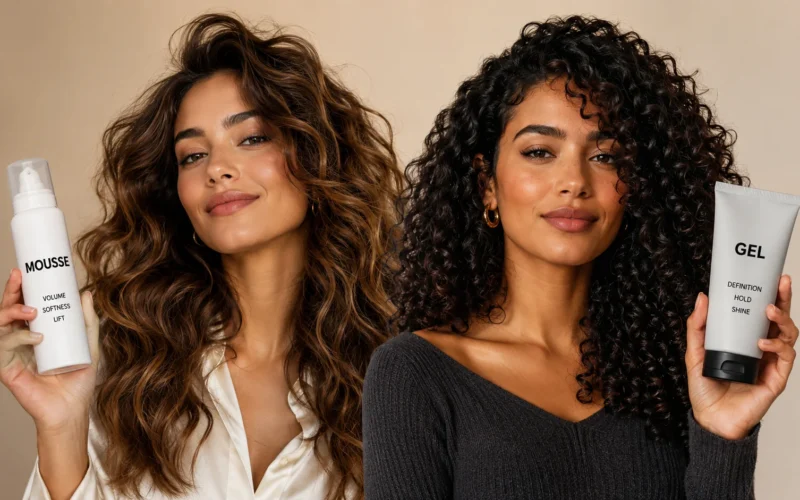
On a later wash, keep the prep and technique the same and test a holding styler according to its directions. Avoid adding cream, oil and gel together as one experiment. For help choosing the finish, compare mousse and gel for hold versus volume.
Crunchy stringy curls aren’t necessarily the final result. A gel cast can make dried groups look stiff and separated. Wait until the roots and inner layers are dry, too, then gently cup and squeeze the hair with dry hands. Don’t comb your fingers through it.
If softness returns but the curl shape stays, the cast was the issue. If the groups fall apart only after repeated scrunching or separating, stop sooner next time. Oil is optional, especially if it tends to leave your hair greasy.
Keep the change that helps, not the biggest clumps
Smaller curl groups aren’t automatically unhealthy. Aim for definition you like, rather than forcing fine waves or lower-density hair into someone else’s chunky ringlets.
- Repeat the one useful change on another wash day before judging it.
- Note unusually humid weather or a different drying method so you don’t blame everything on the product.
- If curls won’t clump even before styling, or only the same ends stay thin and rough, ask a stylist to assess those sections rather than escalating the scrunching.
New thinning, bald patches or persistent scalp irritation need a dermatologist’s assessment, not a clumping technique. Otherwise, start with that first photo where the shape changed. That’s a much better lead than another full bathroom-shelf reset.