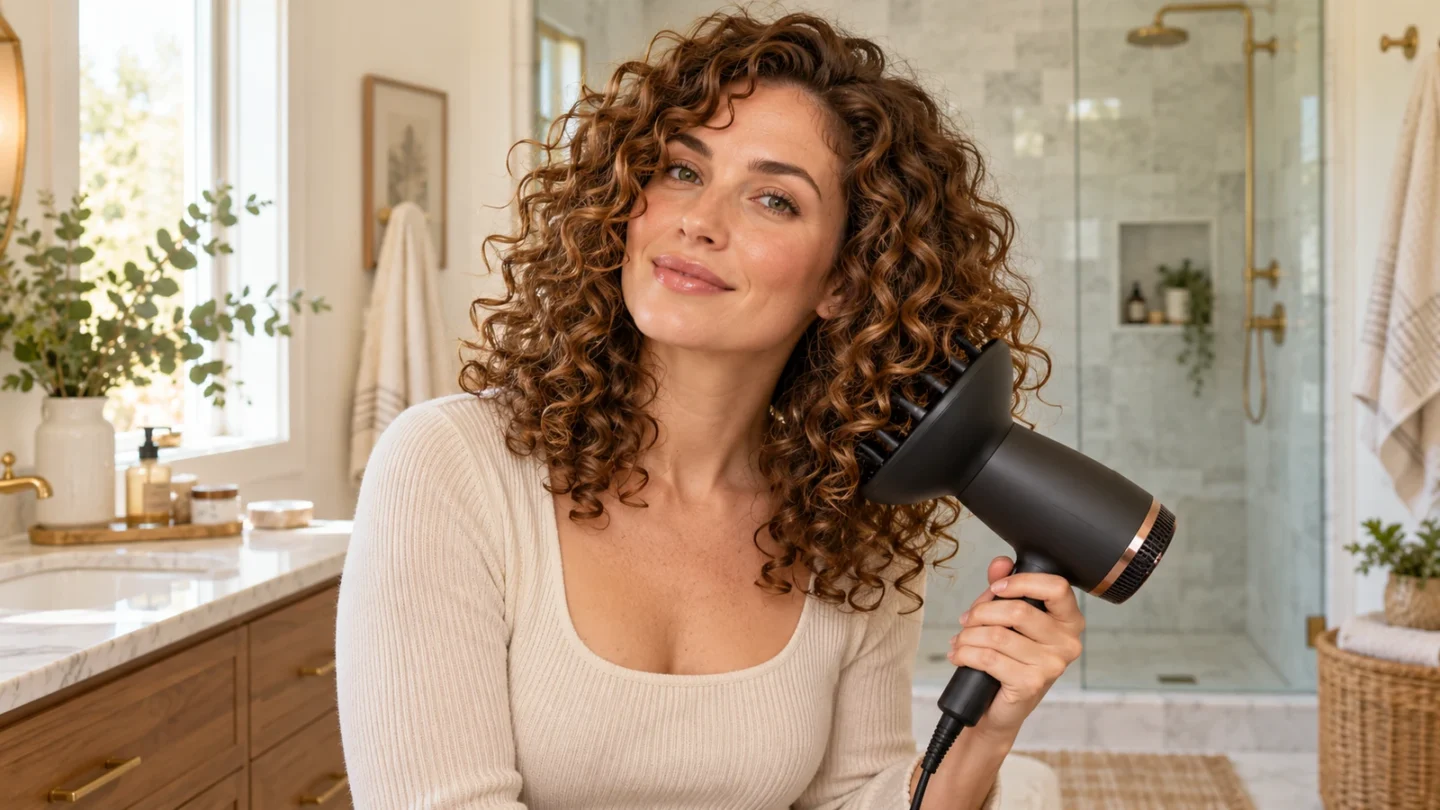
Your curls look defined while wet. Then the diffuser touches them and the surface turns fuzzy, the ends stretch or the crown dries flat. The tool may not be the problem. More often, the curl clumps are being moved before they have enough structure to stay together.
The most reliable way to diffuse curly hair is to separate drying into two jobs: set the surface with minimal movement, then shape and lift once the clumps feel more stable. Start by hovering. Cup the ends or work closer to the roots only after the outside of the hair no longer looks soaking wet and loose.
First check whether the dryer caused the frizz
Look at your hair immediately before you switch on the dryer. If the curl groups are already thin, separated or fuzzy, diffusing will dry that result in place. Fix the wet styling stage instead of asking the diffuser to repair it. Our guide to stringy curls after drying helps trace clumping problems that begin earlier.
A gel cast can protect clumps while they dry, but it is not compulsory and more gel is not an automatic answer. If your hold product never forms a cast, check application and product compatibility in our gel-cast troubleshooting guide.
Set first, shape second
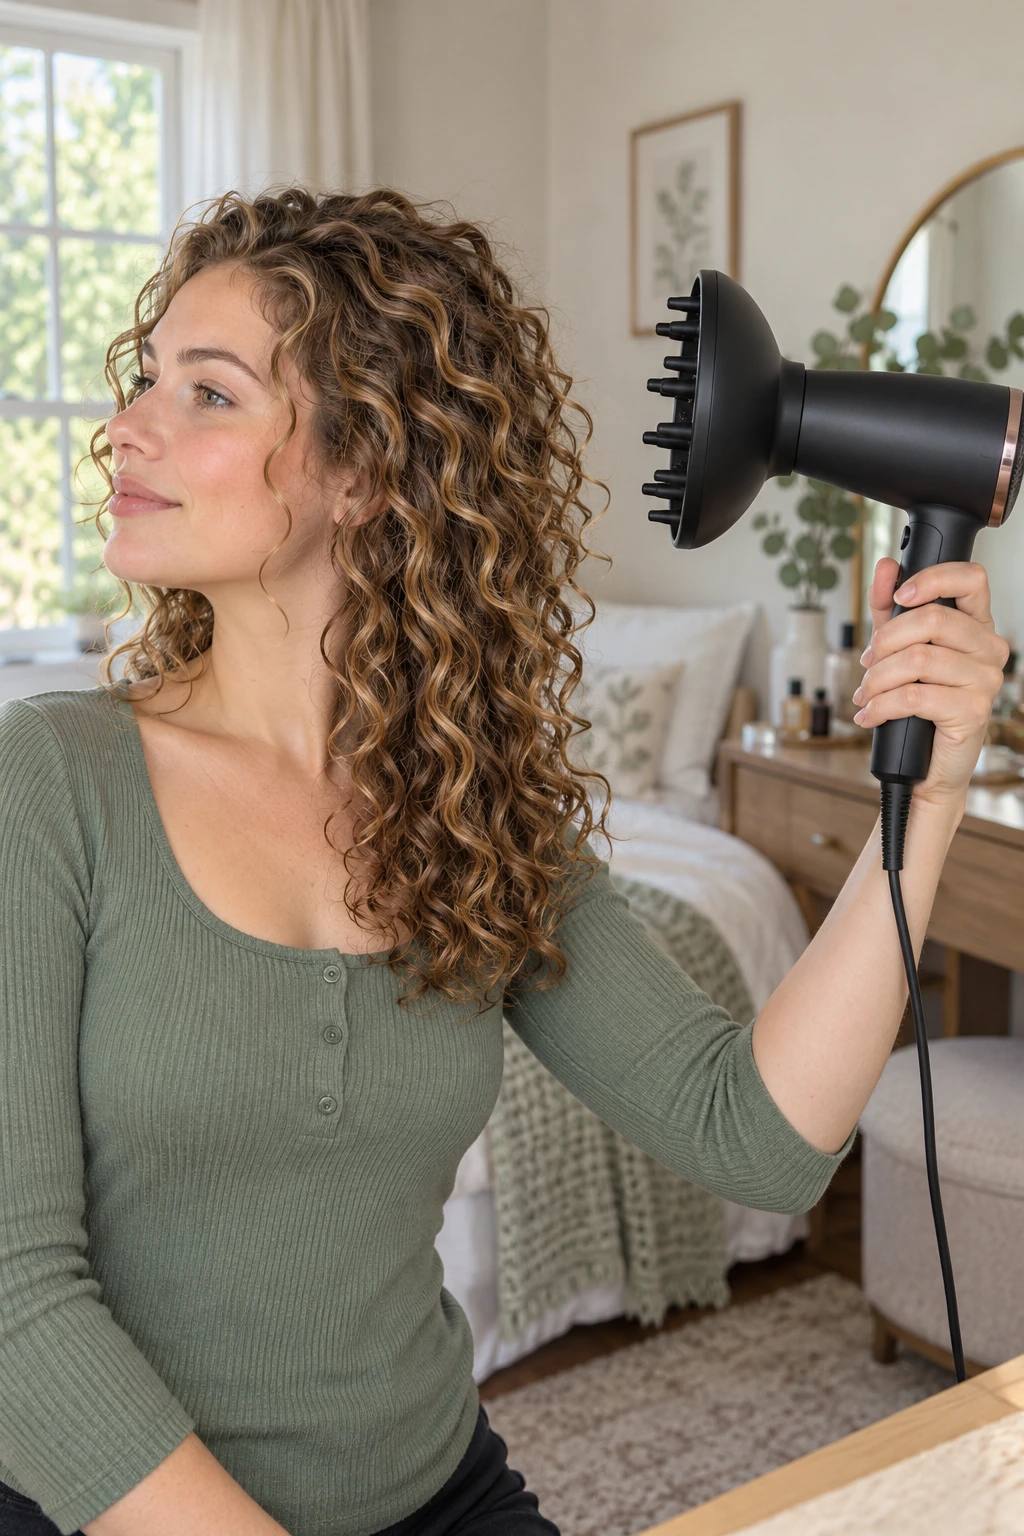
Apply your normal styling products and arrange the clumps before drying. If the hair is dripping enough to soak your clothes, gently squeeze it with a smooth T-shirt or microfiber towel. Do not rub or keep scrunching until it feels almost dry.
Set the dryer to low or moderate heat and the lowest airflow that still moves warm air through the diffuser. Hold the bowl near the hair without touching it. Move between the front, sides, back and crown in calm passes rather than circling one area continuously.
There is no useful universal rule such as “hover for five minutes” or “stop at exactly 80 percent.” Density, length, water, products and dryer power change the timing. Watch the hair instead. Move to the shaping stage when the surface begins to look less glossy-wet and the clumps feel lightly set rather than fluid.
Choose the next move by what your hair needs
| What you notice | Try next | Avoid |
|---|---|---|
| The diffuser creates instant surface frizz | Hover longer and reduce airflow | Scooping very wet curls repeatedly |
| The ends dry stretched | Cup the ends after the surface sets | Letting heavy wet lengths hang for the whole session |
| The lengths look good but roots stay flat | Dry the roots in more than one direction | Adding more product at the scalp |
| Dense sections remain wet inside | Change head angle and expose the inner layers | Turning the heat up while drying only the surface |
| Your waves become too tight or short | Keep hovering or use a hybrid air-dry finish | Cupping every section tightly to the scalp |
Cup the ends without bouncing the dryer
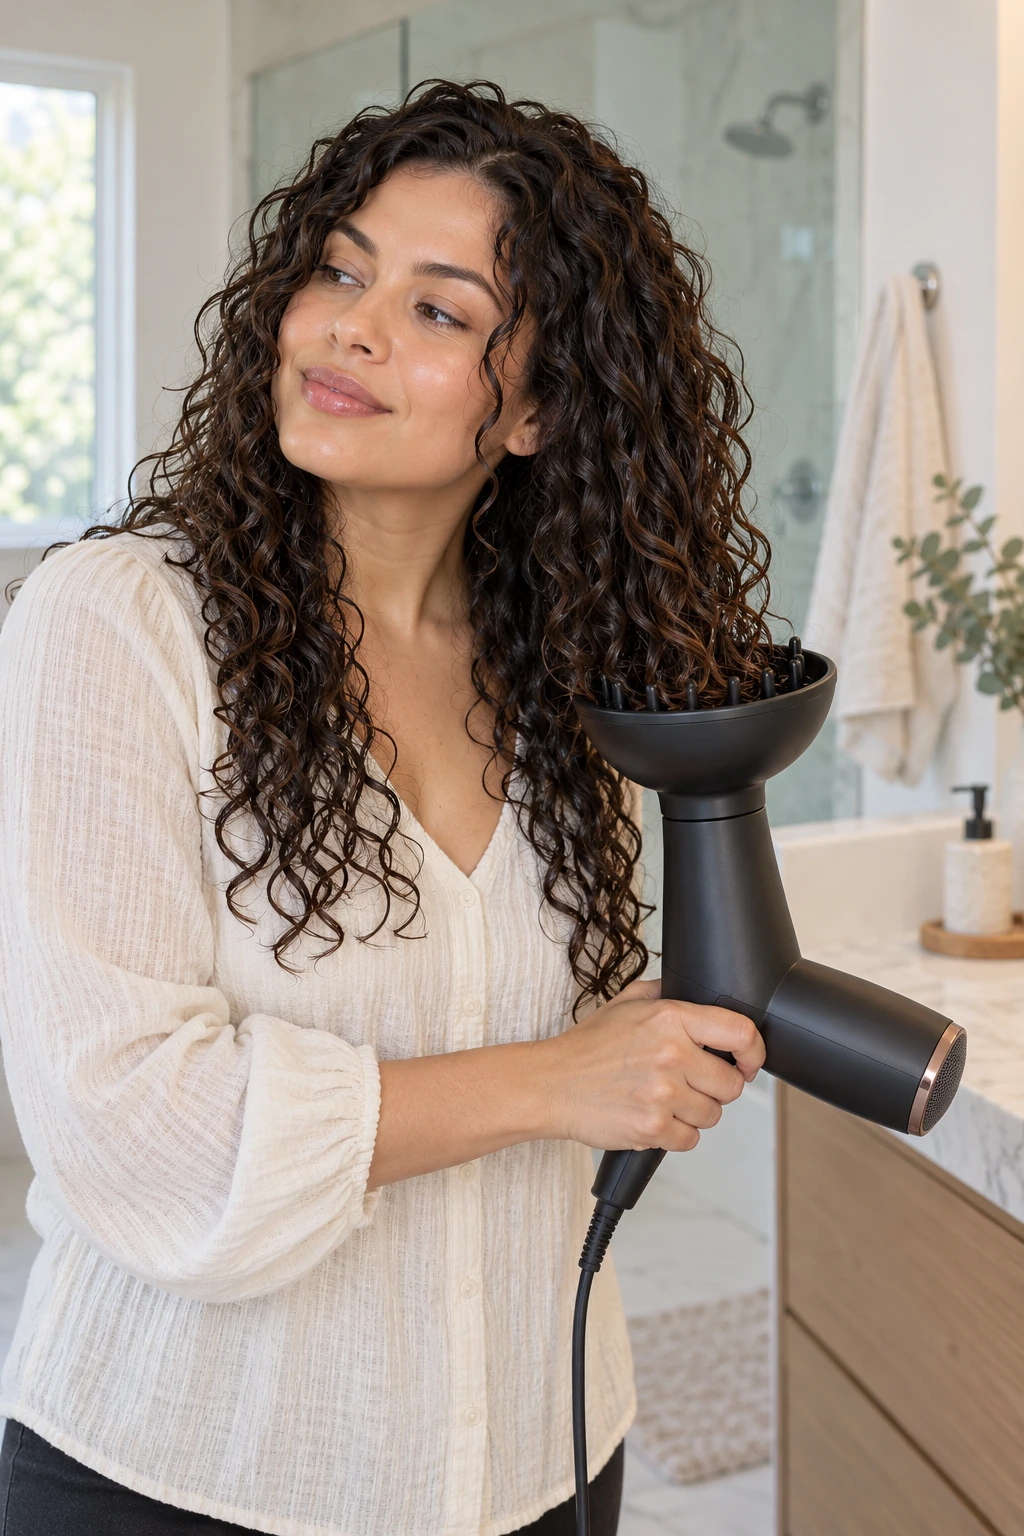
Cupping, sometimes called pixie diffusing, supports the ends so curls can dry in a shorter position. Turn the dryer off before placing a section in the bowl. Lift it toward the head without crushing the curl groups, switch the airflow on and hold the bowl still. Turn it off again before lowering the dryer.
This on-and-off sequence matters more than a stopwatch. It prevents a burst of air from blowing the clumps apart while the bowl is moving. Rotate to another area before the section or scalp feels uncomfortably hot.
Dry flat roots in different directions
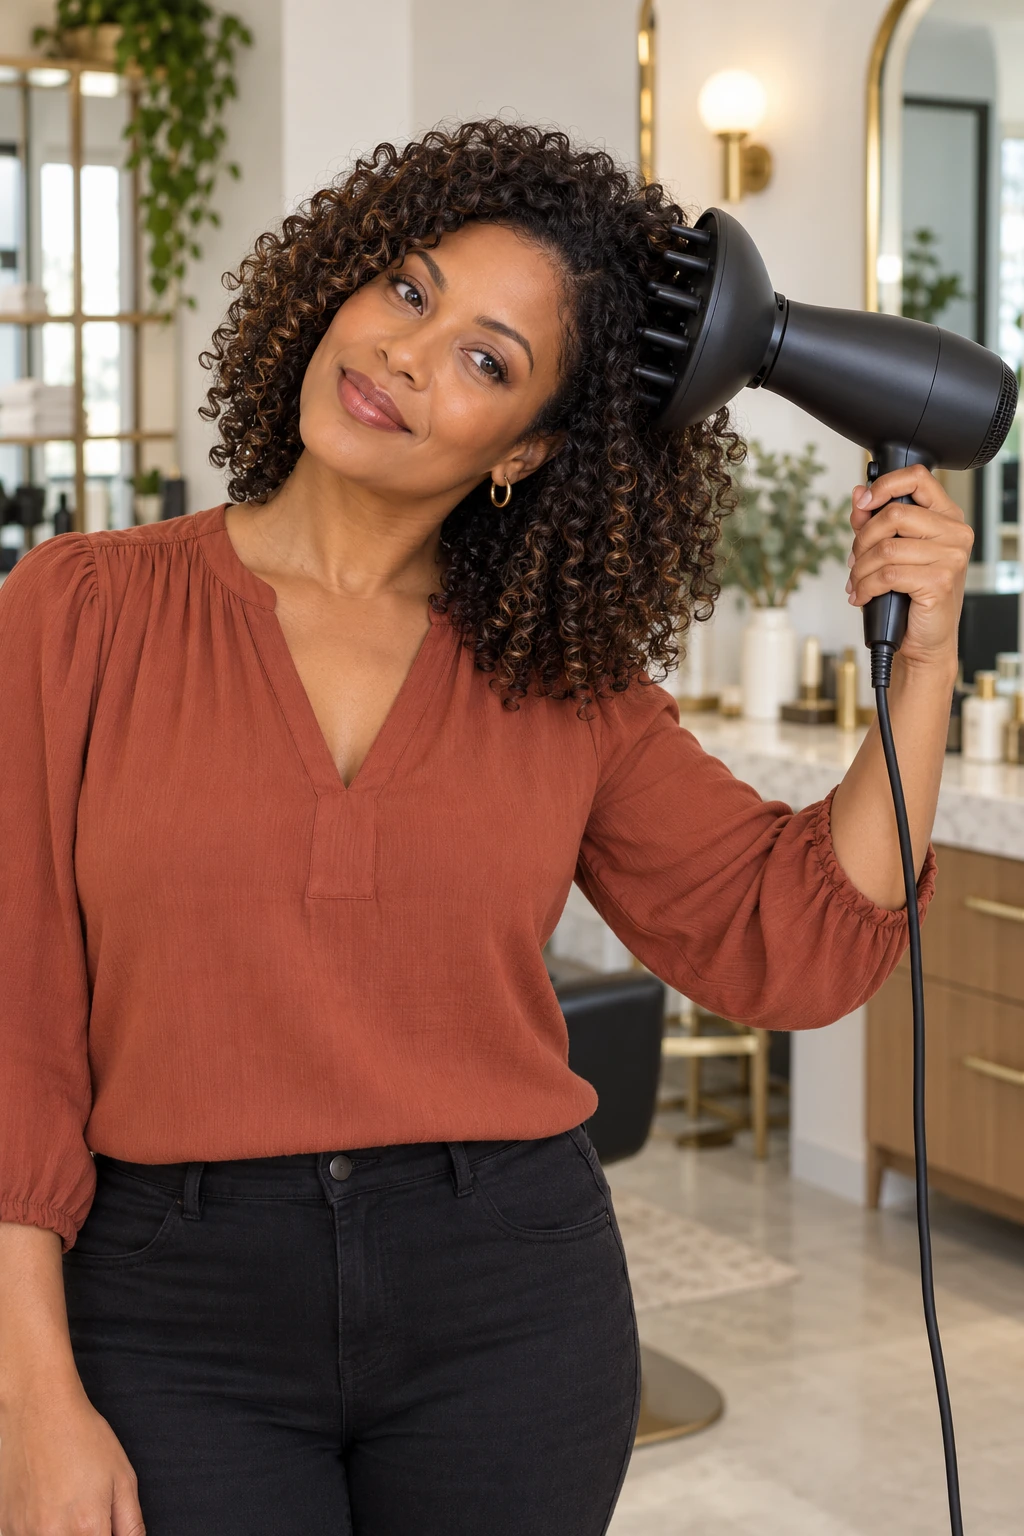
Root lift comes from drying the roots away from the position where they normally settle. Once the lengths have started to set, tilt your head left while drying the right-side roots, then switch. Lean forward briefly for the crown and return upright before the hair is fully dry.
You do not have to spend the whole session upside down. That can create tangled roots, an awkward part or a flat patch at the back. Change direction deliberately and keep the diffuser still for each short pass. If the roots remain wet after the ends feel dry, aim the diffuser fingers toward the root area without scraping them across the scalp.
Heat and airflow solve different problems
Heat affects drying speed and heat exposure. Airflow affects how much the hair moves. If curls are flying around inside or above the bowl, lowering the airflow is usually more useful than simply choosing colder air.
Use the lowest comfortable heat that dries efficiently, keep some distance during hovering and do not park hot air on one spot. An experimental study of hair tresses found more surface damage as temperature increased; its gentlest dryer condition used lower temperature, a 15 cm distance and continuous movement. That does not establish one perfect household setting, but it supports avoiding very hot, close, stationary drying. The American Academy of Dermatology also advises reducing blow-drying frequency and limiting excessive heat.
Know when to stop
Check the roots and gently press one thick clump. If the inside still feels cool and clearly wet, continue with another controlled pass. If your hair is dry enough to hold its shape but the ends become rough when fully diffused, stop and let that small amount of remaining dampness finish in the air.
Do not break a cast because the outside looks dry. A damp interior can turn a good set into frizz as soon as you scrunch it. Wait until the hair feels dry and has cooled, then soften the cast with clean, dry hands. A cool shot can make that final check more comfortable, but it is optional.
Run one useful test next wash day
- Use the same wash and styling products as usual.
- Photograph the wet clumps before drying.
- Hover on controlled airflow until the surface begins to set.
- Change only one variable: cup the ends, redirect the roots or finish by air drying.
- Photograph the result before fluffing or adding oil.
Changing one variable tells you more than buying a new dryer, applying extra product and learning three techniques on the same day. If you are still building the earlier steps of wash day, start with our curly hair routine for beginners, then return to the diffuser once your wet clumps are consistent.
A diffuser should preserve the curl pattern you created, then help you decide where to add support or lift. Set first, shape second, and let the way your hair fails choose the next adjustment.