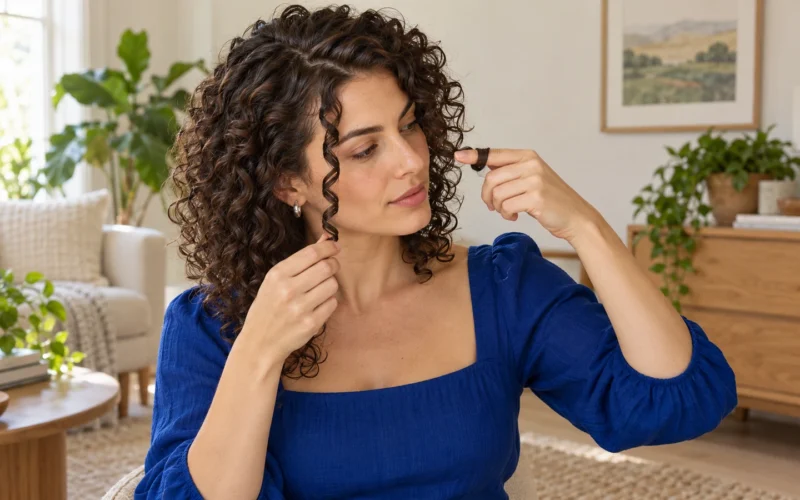
Most men with curly hair do not have a product problem. They have an order problem: rough towel-drying, styling half-dry hair, then adding more product when the first layer does not seem to work. Sea salt spray can make that routine better, but only when your curls need grip or lift. It is not a substitute for moisture.
For a broader wash-to-dry routine, start with our guide to styling curly hair for men. This version answers a narrower question: how do you use sea salt spray and hair clay without leaving natural curls dry, crunchy or overloaded?
The short answer: condition first, apply salt spray lightly to damp hair, let the curl pattern form, then use a small amount of clay only where the finished style needs more shape. Loose waves and fine curls usually get the most from this pairing. Dry, bleached or tighter curls may do better with cream or gel as the main styler.
What you will need
You do not need a shelf full of bottles. Start with a short kit:
- A gentle shampoo and conditioner suited to your scalp and hair
- A wide-tooth comb
- A lightweight leave-in conditioner
- A microfiber towel or cotton T-shirt
- Sea salt spray for texture and grip
- Hair clay for targeted shape and stronger hold
- A diffuser attachment if you prefer blow-drying
The spray and clay are optional tools, not a required pair. Your curl pattern, dryness and haircut decide whether you need one, both or neither.
Step 1: Wash for a clean base, not a squeaky finish
Curly hair often feels drier than straight hair, so daily shampooing may leave it rough and harder to style. Wash when your scalp and buildup call for it, then condition the lengths and ends. If you use clay regularly, do not let layers accumulate until the roots feel waxy or the curls stop springing back.
The American Academy of Dermatology recommends keeping curly hair moisturized, detangling it wet and avoiding dry brushing. That advice matters even more when you add a texturizing spray, because extra grip feels better on hair that is already conditioned.
Step 2: Detangle wet, add leave-in and blot gently
Work through knots while conditioner is still in the hair. Start at the ends with your fingers or a wide-tooth comb, then move toward the roots. Rinse, apply a light layer of leave-in to soaking-wet hair and scrunch upward so the natural groups begin to form.
Blot with a microfiber towel or cotton T-shirt instead of rubbing with terry cloth. Stop when the hair is damp but still flexible. If it has already turned fluffy or almost dry, mist it with plain water before adding a styler. Product cannot rebuild curl groups that have already been brushed apart.
Step 3: Decide whether your curls need spray, clay or something softer
Sea salt spray creates texture and grip. Hair clay adds shape and hold. Neither is primarily a moisturizing product, which is why the best combination depends on the problem you are trying to solve.
| Your hair and goal | Better starting choice | What to avoid |
|---|---|---|
| Type 2 waves that fall flat | Light salt spray, then a tiny amount of clay if the shape drops | Saturating the lengths |
| Fine curls that need root lift | Salt spray near the roots and mid-lengths | Heavy clay through every curl |
| Dry Type 3 curls that need softness | Leave-in plus curl cream or gel; clay only for a few finishing pieces | Using salt spray as the moisture step |
| Bleached, brittle or very rough curls | A conditioning styler first, or skip the salt spray | Adding more grit to hair that already feels dry |
If softness and frizz control matter more than a textured finish, our curl cream versus gel comparison will make the choice clearer. Salt spray is most useful when the missing piece is lift, separation or grip.
Step 4: Apply sea salt spray lightly, then place the clay
Start with the amount on your product label, but treat it as a ceiling rather than a challenge. Spray from several inches away so the mist spreads instead of soaking one patch. Concentrate on the roots and mid-lengths for lift, then scrunch. Use less on dry ends.
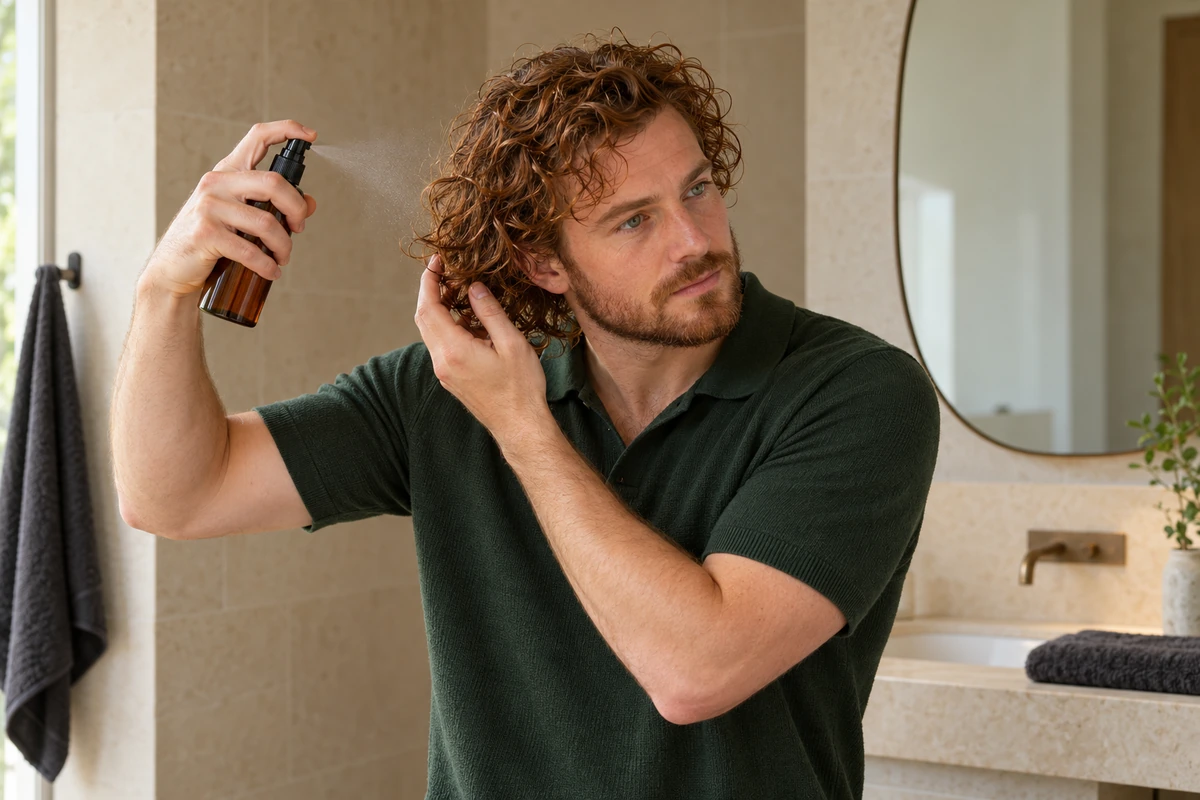
Let the spray settle while you shape the curls. If the style still needs stronger control, warm a pea-sized amount of clay between your palms until it becomes a thin, even film. Press or scrunch it into the areas that need shape. Dragging dense clay through every curl can separate the pattern and leave visible patches.
One example of this two-product approach is The Merman, which pairs a sea salt spray for texture and volume with a curling sea clay for shape and high hold. The brand recommends experimenting with damp versus dry hair, product order and small amounts because the same combination behaves differently on straight, wavy, curly and coily hair.
A useful first test is spray on damp hair, dry or set the shape, then add clay only where control is missing. If your curls feel rough before the clay goes on, do not keep layering. Use less spray next time or place a light leave-in underneath it.
Step 5: Air-dry or diffuse, then leave the curls alone
Air-drying is the simplest option when your waves already have enough root lift. A diffuser can add volume or speed up the routine, but high airflow scatters curl groups before they set. Use low speed and low or medium heat. Hover first, then cup sections only after the surface begins to feel stable.
Our curly hair diffusing guide explains the difference between setting the surface and shaping the roots. Whichever method you choose, keep your hands off until the hair is fully dry. Touching it every few minutes is an efficient way to turn definition into fuzz.
Fix the result instead of adding more product
If the style feels gritty or straw-like, the spray is too concentrated for your hair or the base needs more conditioning. If it looks greasy or collapses, you probably used too much leave-in, clay or both. If the curls are defined but flat, direct the spray closer to the roots next time and change the drying direction before increasing the amount.
For day-two hair, begin with water rather than another full layer of product. Mist lightly, scrunch the flattened sections and let them reset. Add a trace of clay only to pieces that still will not hold their shape. Product buildup is much harder to style around than one imperfect curl.
The best routine is the smallest one that solves the actual problem. Use sea salt spray for grip and lift, clay for selective shape, and conditioner or a softer styler when the hair needs moisture. Change one amount or one step at a time, and your curls will tell you which part is earning its place.