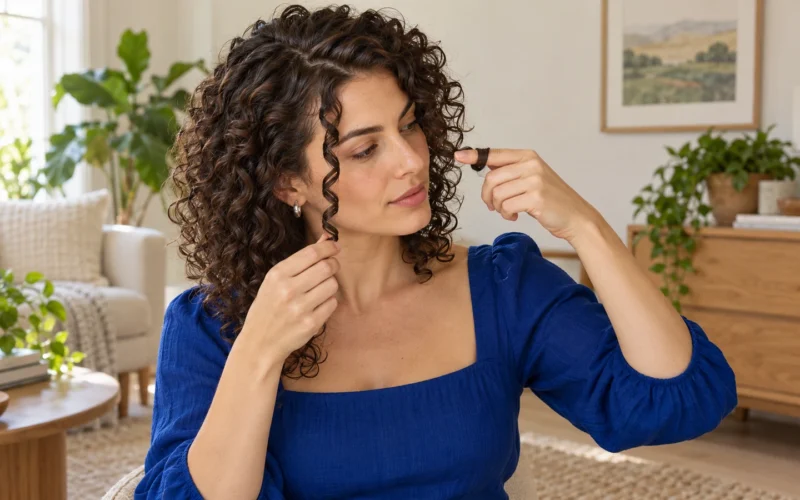
Start with one damp or wet, detangled section. Glide a styling brush through it once with light tension, let the ends slip off the bristles, and see how the hair settles. If the section separates into thin ribbons or hangs straighter than you want, adjust that pass before you repeat it all over your head.
Brush styling guides wet strands into groups as you apply or distribute your usual styler. Those groups, often called curl clumps, take on their shape as you release the hair and let it dry. Detangling comes first. When you style, the brush should already have a clear path through the section.
Give the brush a section it can move through
After washing and conditioning, free the knots while the hair has enough slip for your fingers or tool to move easily. The American Academy of Dermatology recommends detangling curly or coily hair in wet, conditioned sections. If the styling brush catches, stop and free the snag before you finish the pass.
Keep the section evenly wet from roots to ends. If the front is starting to dry while you work on the back, mist the front again before styling it. Smooth your usual amount of styler over the section first so you can judge the brush technique without also changing how much product you use. If your regular routine adds hold after shaping, keep that order for the first comparison.
Use a brush that moves comfortably through the hair you’ve already detangled. If your brush works well on knots but has trouble guiding a section, see the comparison of curly hair detangling and styling brushes.
Make one pass, then watch the release
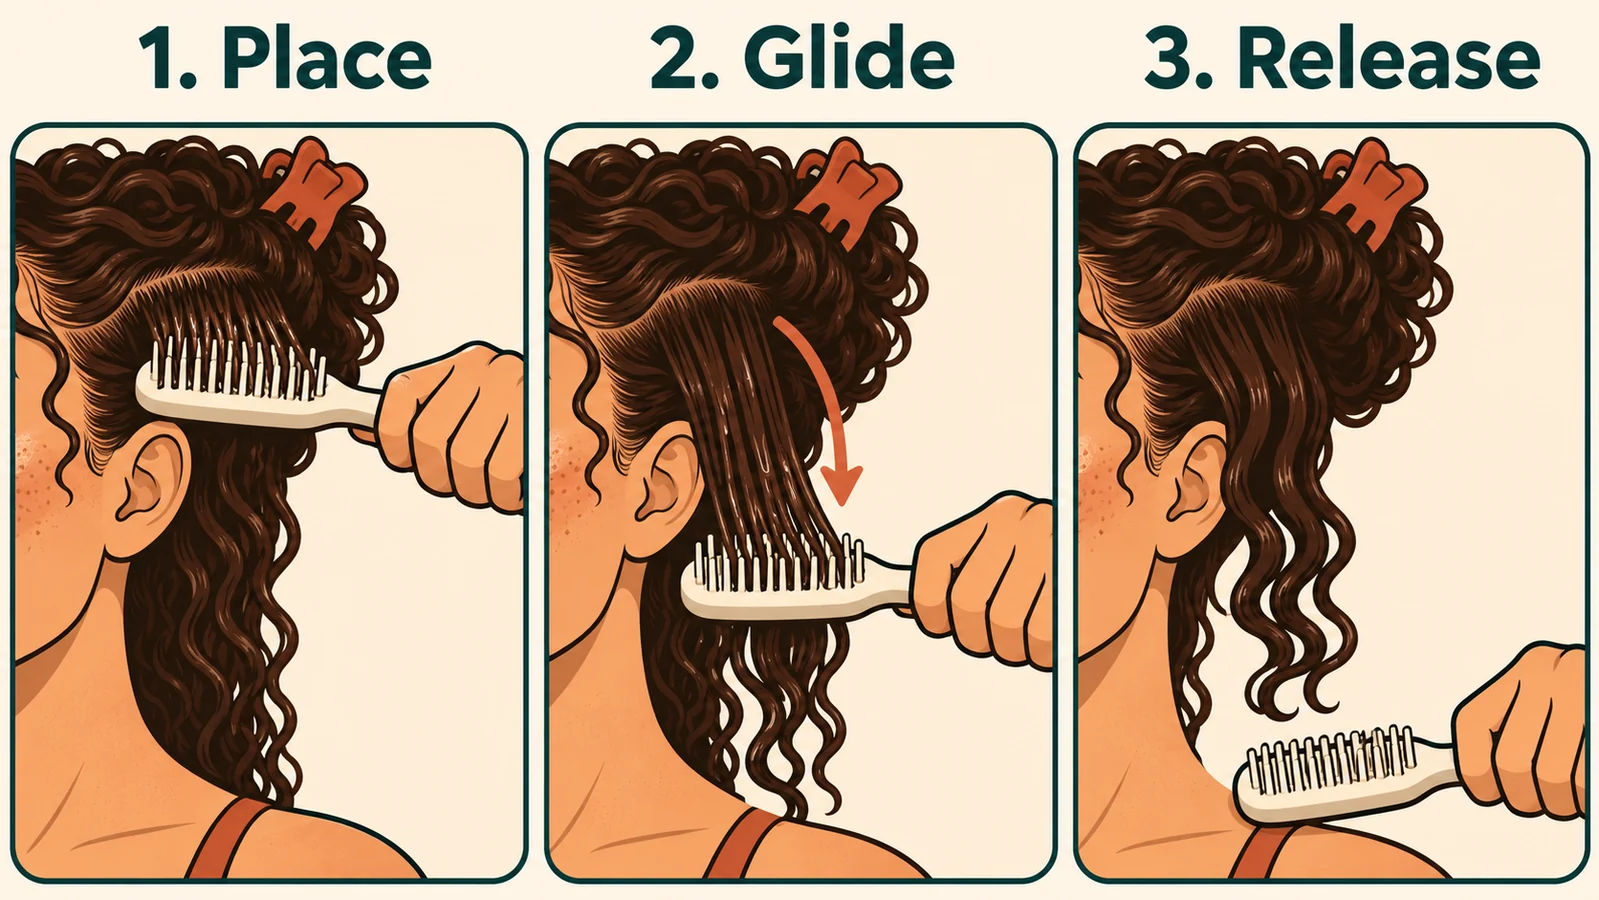
- Pick up a section that fits on the brush. Clip surrounding hair out of the way so loose strands can’t catch in the bristles. Start with a group of curls that naturally falls together and spread it across the working face of the brush.
- Place the brush underneath. For a simple first pass, hold the brush nearly horizontal with the bristles facing into the hair. Start near the roots where it feels comfortable, and guide the section out from your head in the direction you want it to fall.
- Glide toward the ends with light, steady contact. The hair should move across the bristles without tugging at the scalp. Try a small wrist turn only if the hair needs more guidance. The section can bend over the edge without winding around the handle.
- Let the ends slide free. Give the section a moment to settle. If the ends hang long, cup them in your palm and gently lift once to see if the curl returns. Let go without raking your fingers through the group.
Look for the shape you wanted while the section is still wet, then check it again once dry. Loose waves may look long immediately after the brush pass and bend again with a light scrunch. If they stay stretched, try less tension or leave out the wrist turn on the next section. Curl educator Gena Marie demonstrates a lighter pass for waves and loose curls.
Change the step where the shape goes wrong
Use a nearby section of similar texture for your next try. Keep the brush, styler, and drying method the same while you change one thing. The wet result tells you whether the pass is worth adjusting. The dry result tells you whether to keep the adjustment.
| What you see | What to try first |
|---|---|
| Fine ribbons separate as soon as the brush leaves. | Take a slightly fuller natural curl group and make one pass. If it comes off as one heavy sheet, use a smaller group instead. |
| One side of a section stays smooth while the other fans out. | Check that the whole section is equally wet. If it is, make the next section narrower so its edges stay in contact with the brush. |
| The curl stays stretched after a gentle scrunch. | Use less tension on a similar section. If that still flattens the wave, shape that area with your hands. |
| The lengths look defined but the crown sits flat. | Change direction at the crown only. Lift the section away from your scalp as you start the pass. Compare how the roots sit once dry. |
| A smooth clump separates only as it dries. | Watch what happens after release. If pressing with a towel splits the group, try less pressing on the next section before changing the brush pass. |
If the crown stays flat even in a section you shaped by hand, look at the other reasons curly roots lose lift. If the wet clumps keep changing later in the routine, use the guide to finding when curls turn stringy.
Brush the sections that benefit
Let the hair in each area tell you how much work it needs. With dense hair, clip more of it out of the way so strands from the next section don’t get pulled into the brush. With short curls, guide only the length you can reach comfortably. If the brush keeps grabbing neighboring hair, smooth that area with your fingers. Fine waves that lose their bend may do better with one light pass or a scrunch alone.
If most of your curls already dry the way you like, try shaping only the pieces around your face or the outer layer. For one stubborn curl, selective finger coiling may be easier. Compare what you get once the hair is dry. If the extra work doesn’t give you a finish you prefer, keep your usual routine for that area.